Importing CDs
Import CDs with details and covers from MusicBrainz, check every track against AccurateRip, play a CD without importing, and re-import damaged songs.
ClassicTunes imports audio CDs into your library, in AAC or Apple Lossless. It looks the disc up on MusicBrainz for its details and cover, and checks each track against AccurateRip, a database of other people's rips of the same disc, so you know your copy is perfect.
You need a CD drive: a USB drive works, or one built into an older Mac.
Tip: To stop the Music app opening CDs as well, open System Settings › CDs & DVDs and set "When you insert a music CD" to Ignore.
Insert a CD
Insert an audio CD. It appears in the sidebar under CDs, and its page opens. While the disc is being read, the sidebar says "Reading CD…".
ClassicTunes looks the disc up straight away:
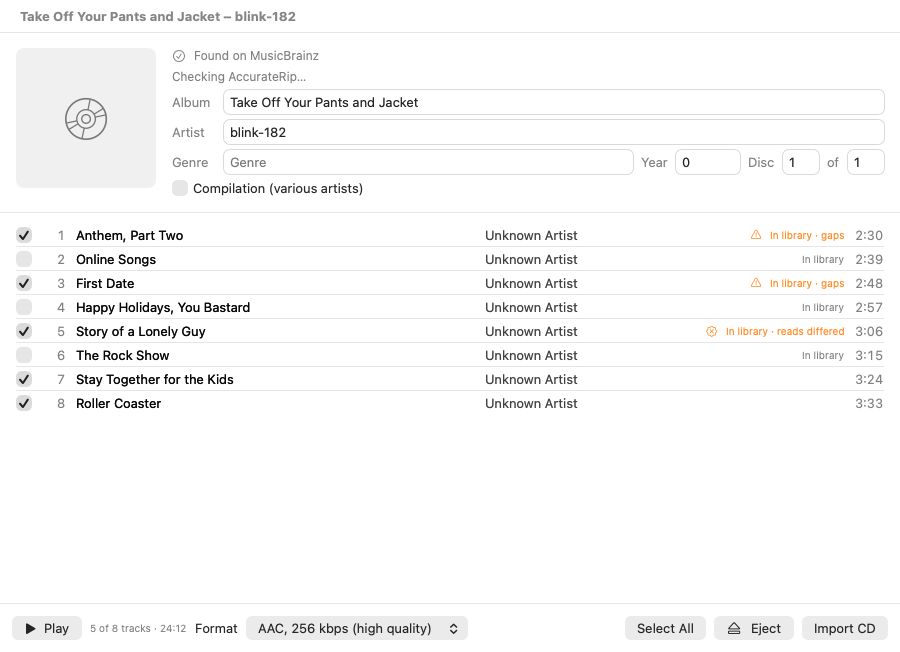
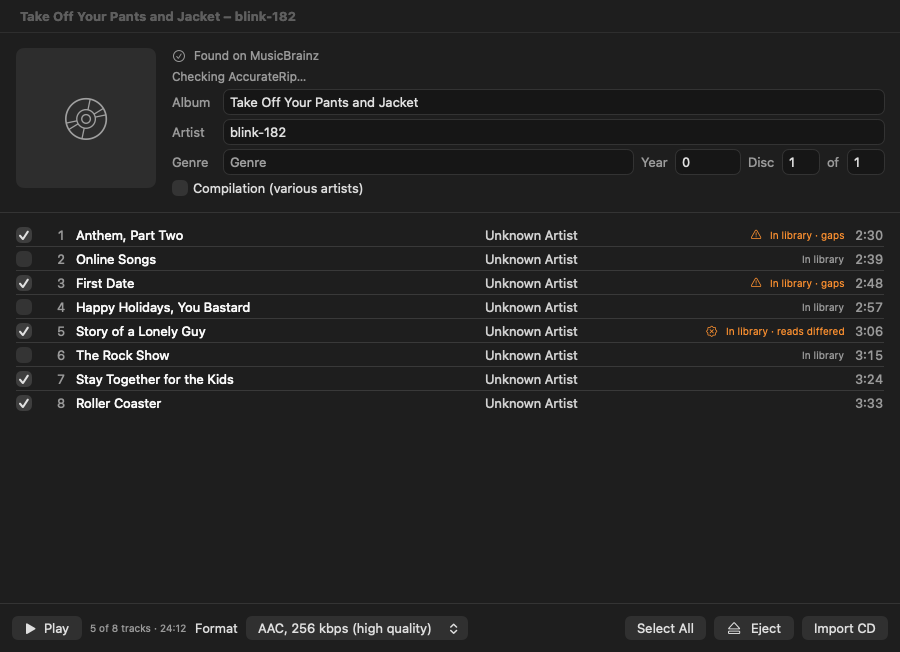
- Found on MusicBrainz: the album, artist, genre, year, disc number, song titles and cover are filled in. If MusicBrainz lists the disc on more than one release, a Release menu lets you pick the right one.
- This CD isn't on MusicBrainz: type in its details yourself, or click Try Again later.
- If the lookup couldn't be done (for example, you're offline), it says why, with Try Again.
It also checks AccurateRip for the disc, and shows the result under the details. See How imports are checked.
Check the details
Everything on the CD's page can be edited before you import:
- Album, Artist, Genre, Year and Disc (… of …) at the top.
- Compilation (various artists): turn this on for an album by various artists. Each track then shows an artist field too.
- Each track's title (and artist, when it differs from the album's). Click it to type.
- Artwork: drop an image onto the cover, or right-click it to Choose Artwork… or Remove Artwork. Covers downloaded from MusicBrainz have white scanner borders trimmed off.
Uncheck any tracks you don't want. Select All and Select None check or uncheck every track.
Import the CD
- Choose the Format at the bottom of the page:
- AAC, 256 kbps (high quality): about 115 MB an hour.
- AAC, 128 kbps (smaller): about 58 MB an hour.
- Apple Lossless (CD quality): about 300 MB an hour.
- Click Import CD. You can also right-click the CD in the sidebar and choose Import CD.
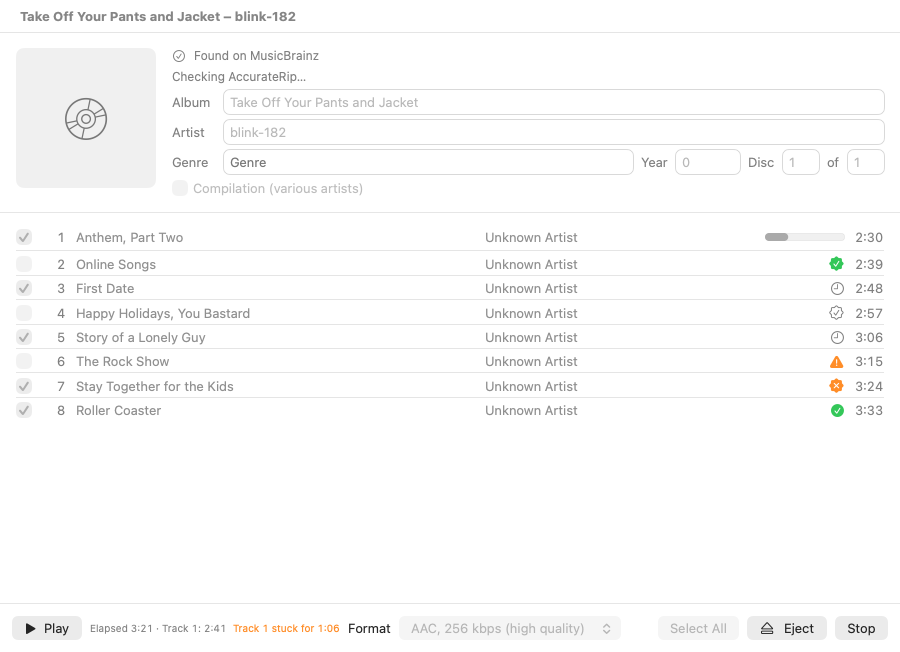
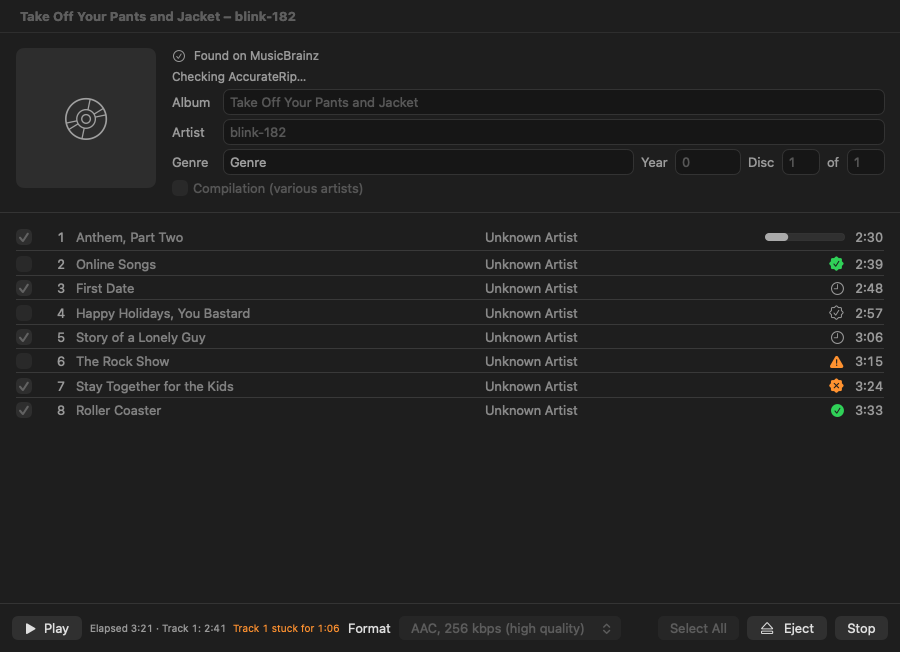
Each track shows its progress, then its result. While it imports, the bottom of the page shows how long it's taken, how long the current track has taken, and roughly how long is left. Stop halts the import; tracks already imported stay in the library.
When it's finished, a summary says how many songs were imported, how many were verified accurate with AccurateRip, and any that had problems. If ClassicTunes is in the background, a notification tells you (see Settings).
Imported songs go into the library's folder, sorted by album artist and album (compilations go in a "Compilations" folder), and appear in Music straight away. They sync to your iPod like any other song.
The first time you import a disc that's in AccurateRip, ClassicTunes first finds your drive's read offset ("Finding your drive's read offset with AccurateRip…"). This happens once for each drive.
How imports are checked
Every drive reads a few samples early or late, its read offset. ClassicTunes finds your drive's offset automatically from a disc that's in AccurateRip, then corrects for it, so each track can be compared with other people's rips of the same disc. The line under the CD's details says whether the disc is in AccurateRip, how many rips it's compared against, and your drive's read offset.
After a track is imported, its icon shows how the check went (hover over it for details):
| Icon | Meaning |
|---|---|
| Green seal | Accurate: the track matches other people's rips (or another pressing of the disc), so it's a perfect copy. |
| Gray seal outline | Not in AccurateRip, but two reads matched: it most likely is accurate. |
| Orange seal with a cross | Doesn't match AccurateRip; reads differed: clean the disc and import the track again. |
| Green check | Imported; the disc isn't in AccurateRip, so it couldn't be checked. |
| Orange triangle | Imported, but a short part couldn't be read from the disc and is silent. |
| Red octagon | The track couldn't be imported; hover over it for why. |
When a track doesn't match AccurateRip, ClassicTunes reads it a second time. If the second read matches, that one is kept. If both reads give the same audio, it's most likely a pressing nobody has submitted to AccurateRip. If they differ, the drive may have smoothed over a damaged spot, so the track is marked as not trusted.
Scratched and damaged discs
When the drive can't read part of a disc, ClassicTunes retries it. Each track gets up to a minute of retries; then anything still unreadable is left silent and the import carries on. If more than about two seconds of a track can't be read, the track isn't imported at all, and it asks you to clean the disc (wipe from the center outward) and try again.
If the drive makes no progress for a while, the bottom of the page says "Track … stuck for …". If it doesn't move on for several minutes, click Stop, uncheck that track and import the rest.
Songs with unreadable gaps are labeled as incomplete in the library: Get Info's File tab shows how many seconds couldn't be read, and Albums with Imperfect CD Imports in the Albums Sort and Filter menu lists their albums. A smart playlist can find them too.
Re-import damaged songs
Insert the CD again and its page shows which tracks are already in your library:
- In library: imported before.
- In library · gaps: imported, but part couldn't be read.
- In library · reads differed: imported, but two reads of it gave different audio.
Tracks with gaps or differing reads are checked for you; cleanly imported tracks are unchecked. After cleaning the disc, click Re-import. Only the checked tracks are imported again, and each song's file is replaced in place: the song keeps its ratings, play counts, playlists and any edits you made. If the new read fails, the copy you had is kept.
Play a CD without importing it
Click Play at the bottom of the CD's page, or right-click the CD in the sidebar and choose Play. Double-click a track to start there.
Eject the CD
Click Eject at the bottom of the CD's page, click the eject button beside it in the sidebar, or right-click it in the sidebar and choose Eject.
Settings for CDs
These are in Settings › General › Importing CDs, for each library:
| Setting | Choices |
|---|---|
| When a CD is inserted | Show the CD (the default) opens its page. Import the CD starts importing straight away. Import the CD and eject it imports it and ejects it when it's done (if nothing failed). |
| Import using | The starting format for each CD: AAC, 256 kbps (high quality) (the default), AAC, 128 kbps (smaller) or Apple Lossless (CD quality). You can still change it on each CD's page. |
| Drive read offsets | Each drive's read offset once it's been found, with Forget to find it again next time. |
From AppleScript and Shortcuts
Importing CDs isn't scriptable. Once a CD's songs are in the library, scripts and shortcuts can work with them like any other songs; see Your library.